Prep Time: 1 hour 30 minutes

Cook Time: 45 minutes

Servings: 8 poptarts

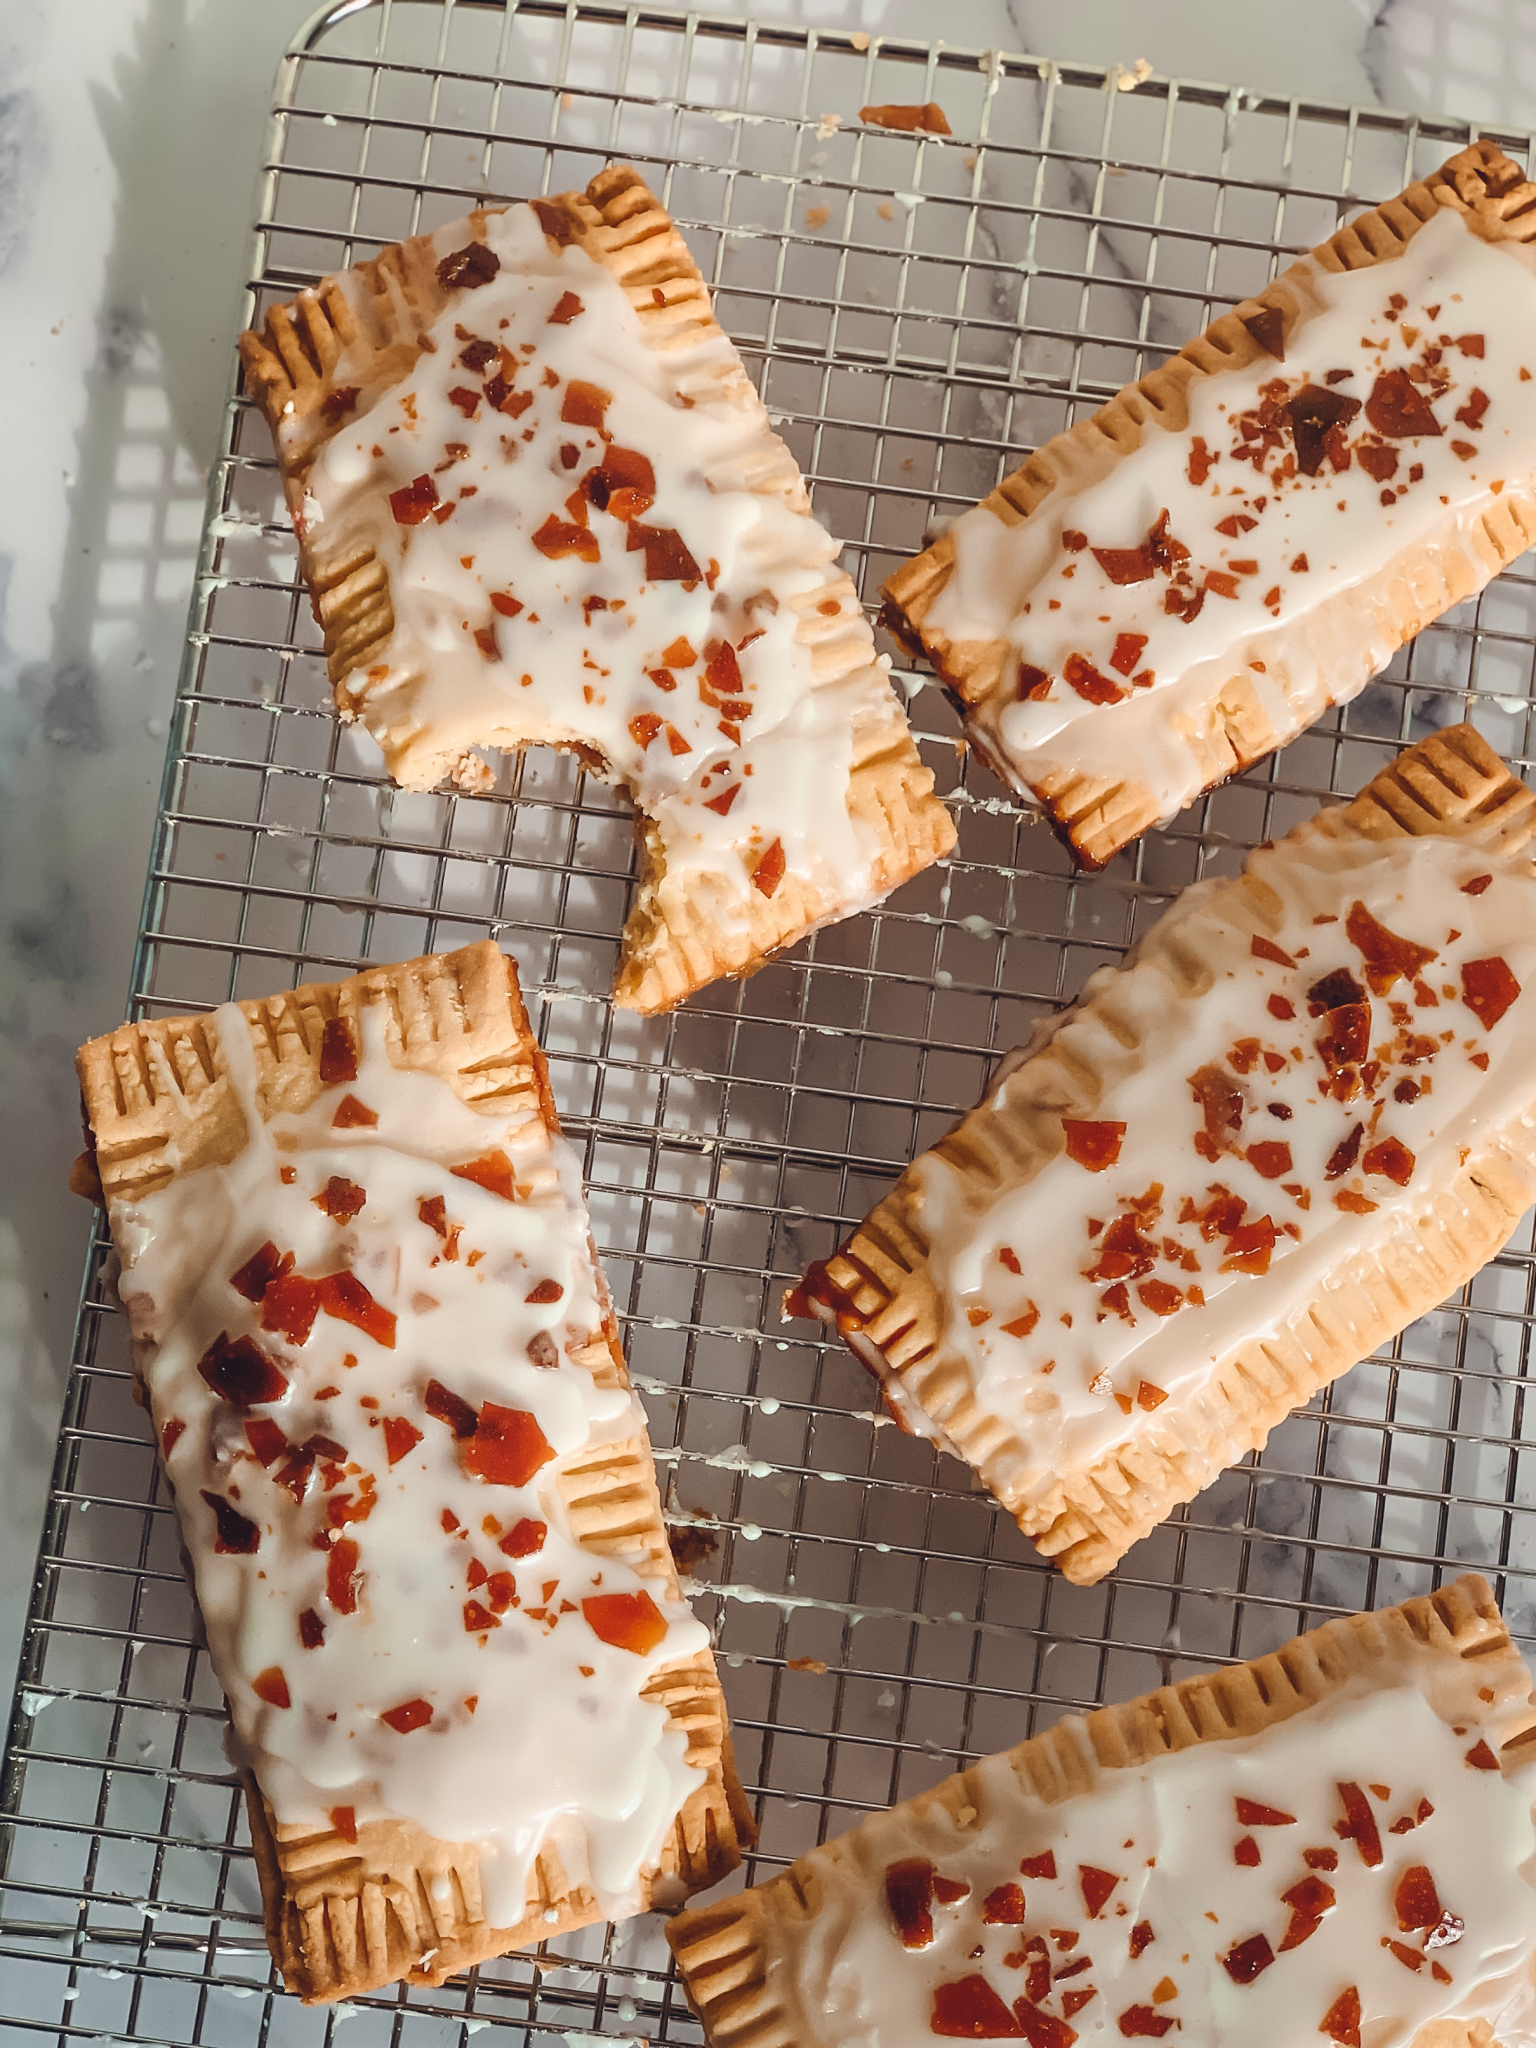
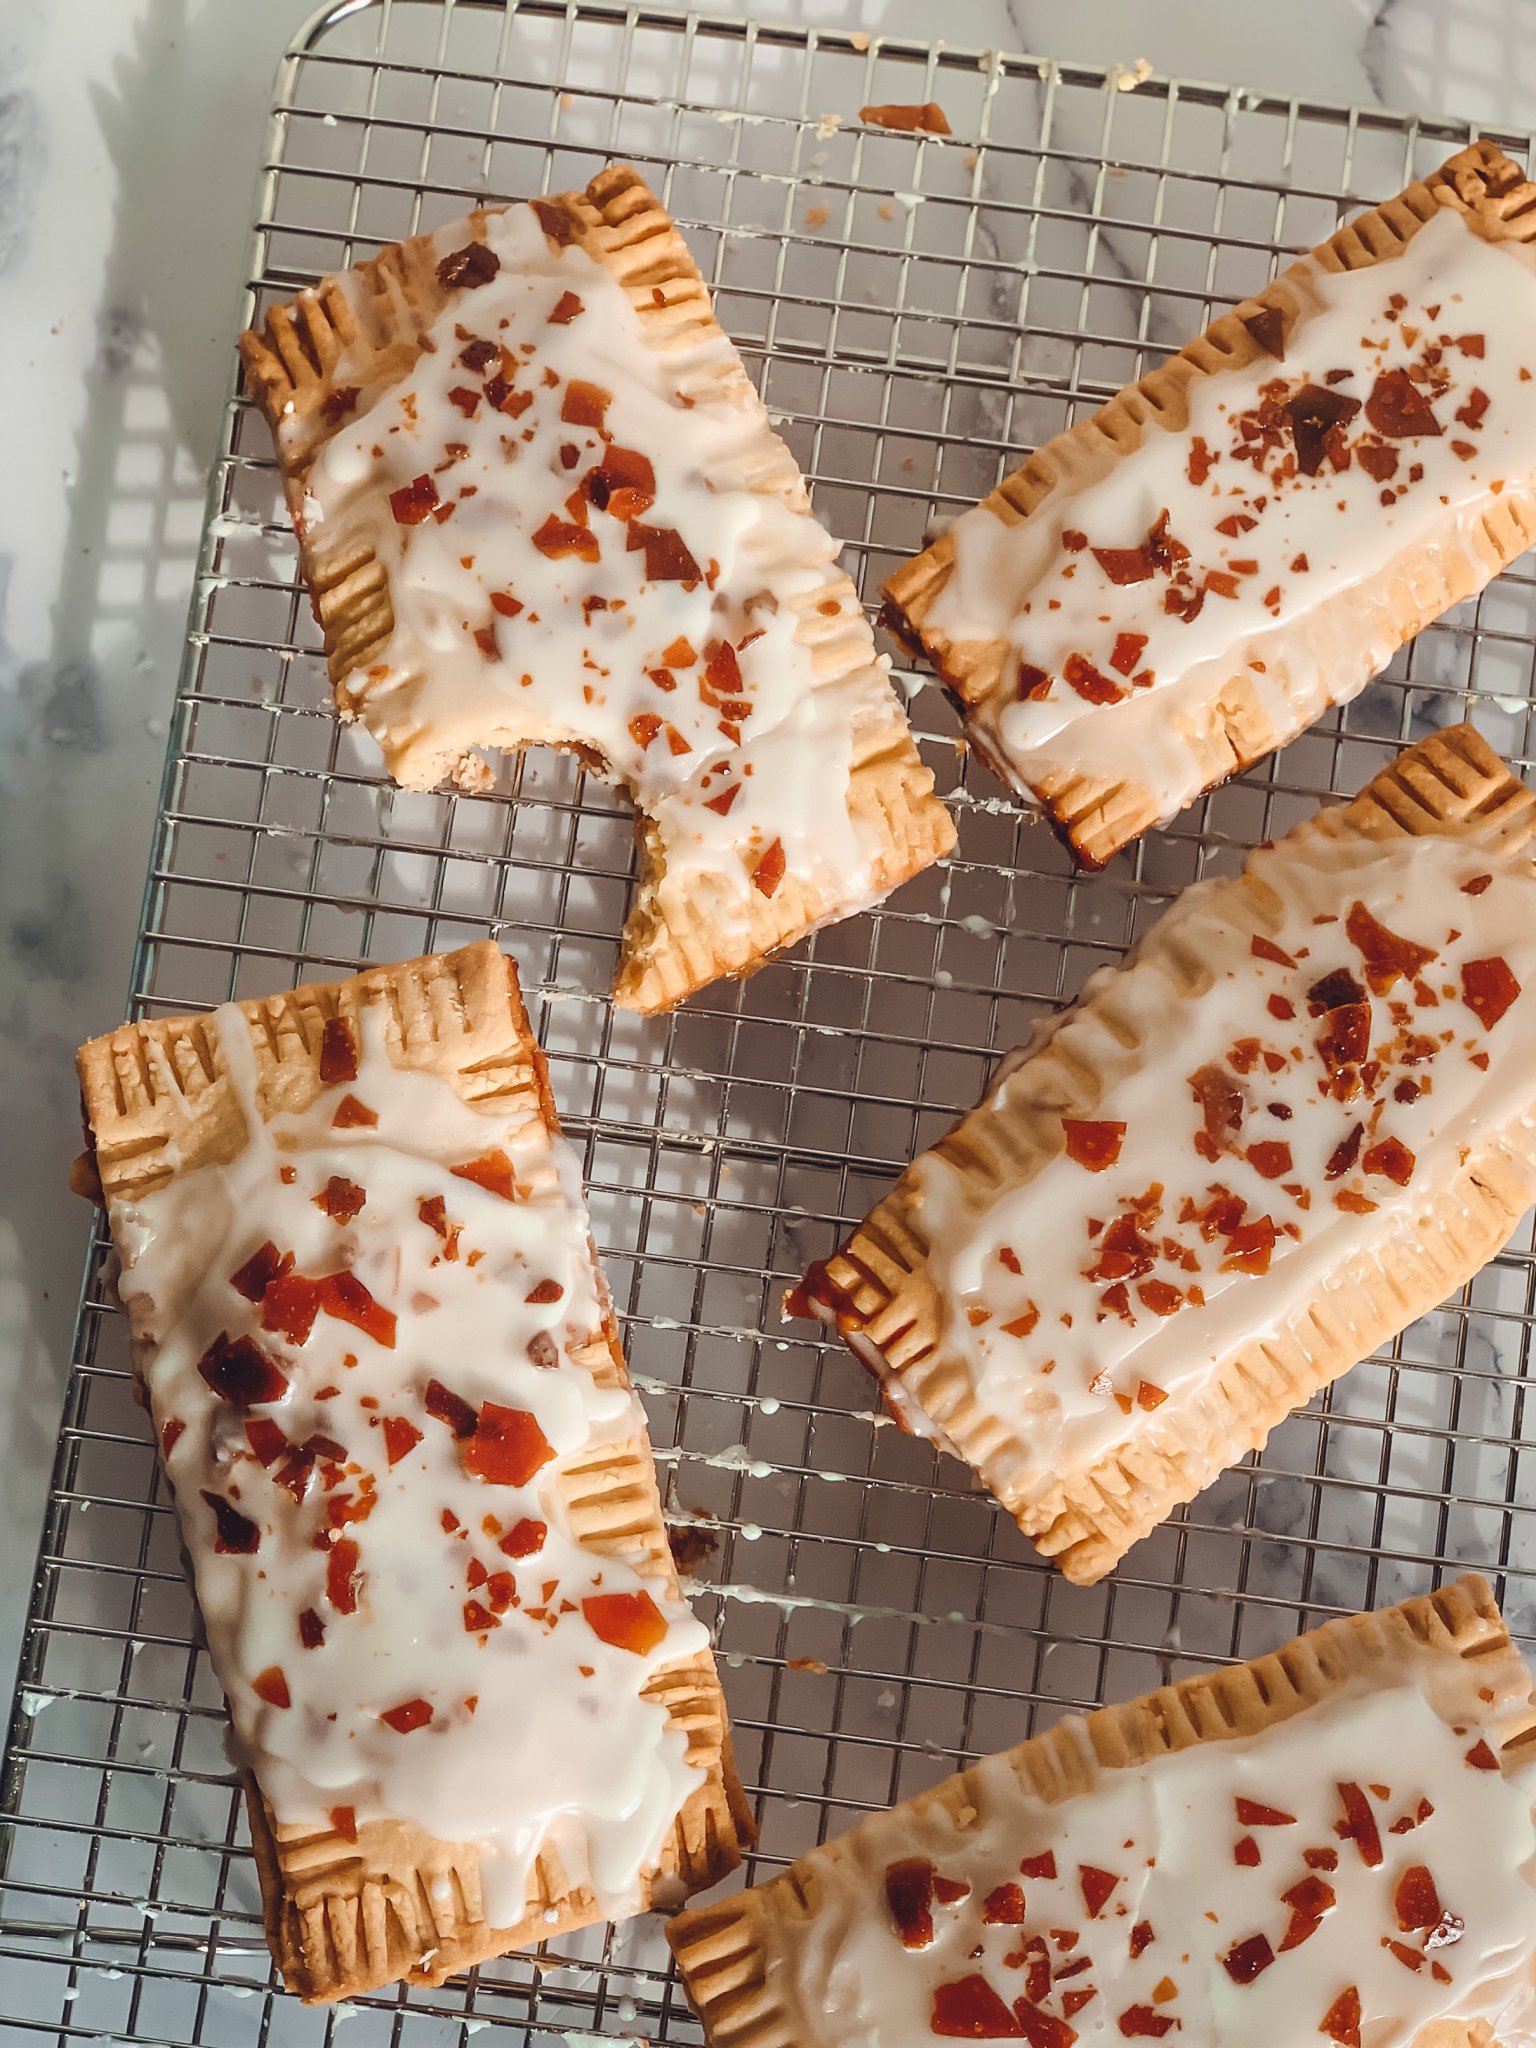
The best part of waking up is… poptarts! However, these aren’t your traditional poptarts, they’re more of a dessert – which honestly if you can have breakfast for dinner… then why not dessert for breakfast?

I’ve been experimenting with different products recently and there are two that I really need to mention that made this recipe amazing:

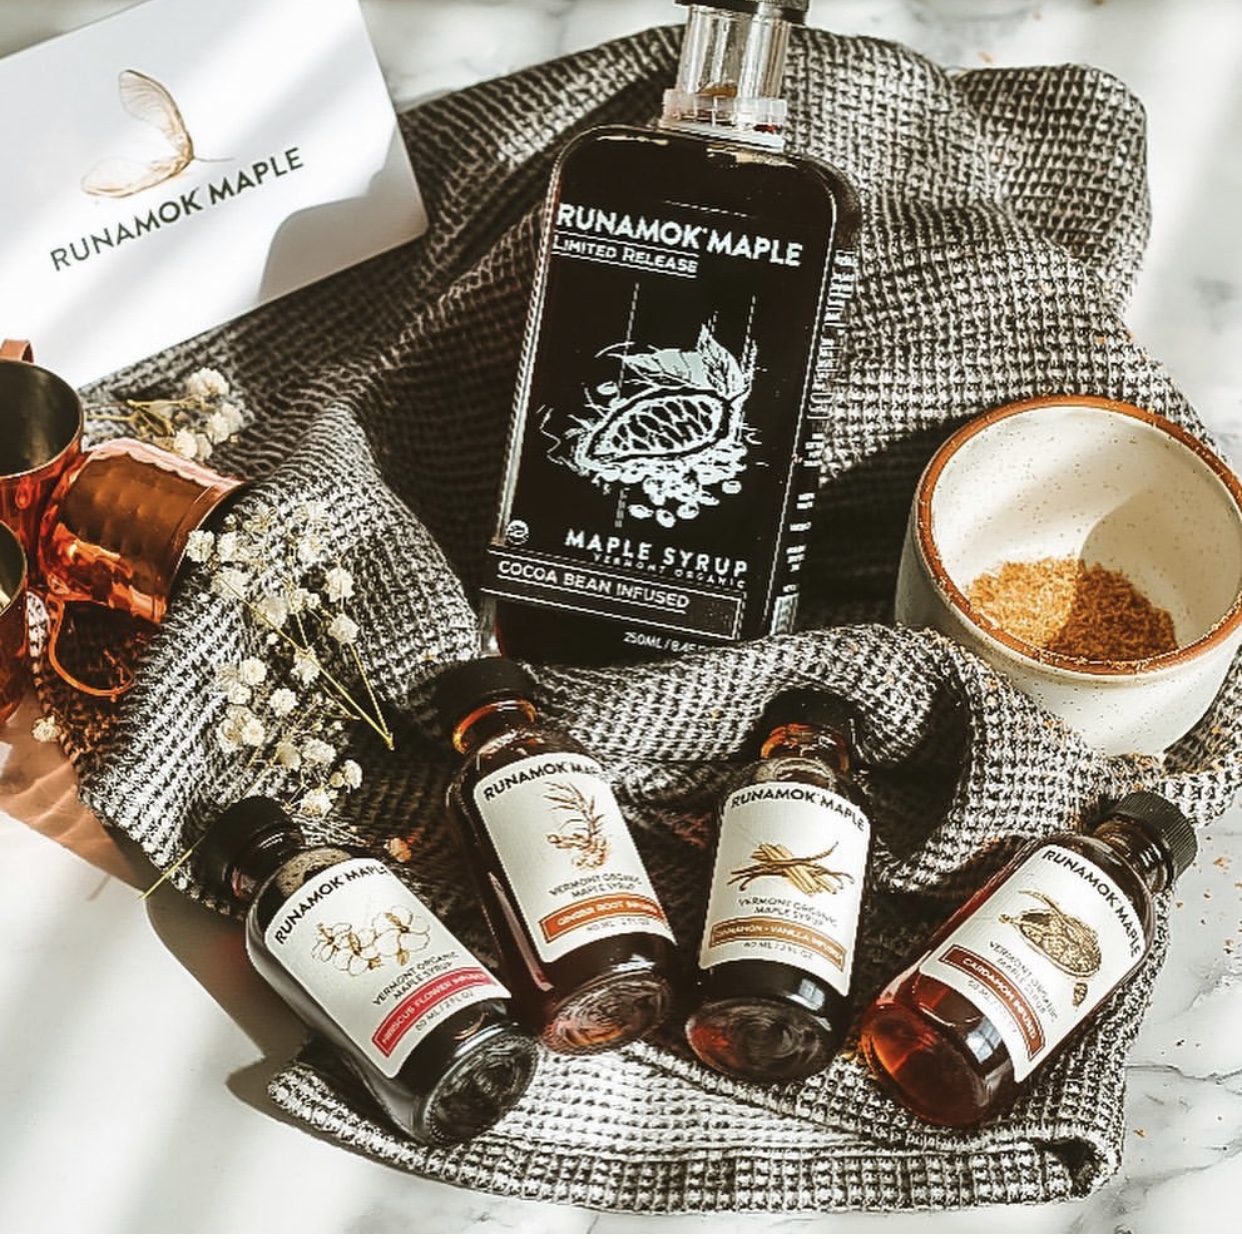
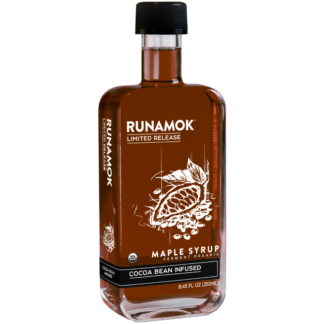
  1. Runamok Cocoa Bean Syrup
  2. Minerva Amish Butter Roll (85% butterfat)

Firstly, the cocoa bean maple syrup filling is super dense and sweet. It’s the maple syrup boiled and then mixed with heavy cream as it cools which turns the syrup into a caramel-like “sauce” that is just to die for! Secondly, the Minerva butter. We found this at Whole Foods while we were panic shopping and this brand was the only one left. We were hesitant on buying it initially because it was $10.99 for the entire roll which I felt was astronomical, but after I tasted it – I would’ve bought it if it was $100 per roll. This butter has so much flavor and is far more creamy than any butter I’ve ever tasted. When you marry this butter with the cocoa bean maple syrup, I’m convinced that magic happens. Let’s get started!

Ingredients

Pastry Dough
  • 2 cups + 2 tbsps all-purpose flour, sifted

  • 2 tbsps sugar

  • 1 1/4 cup cold butter, grated

  • 1 tsp salt

  • 2 tbsps any milk (I used vanilla almond milk)

  • 1 egg

Filling
Glaze

Instructions

  • 1 Mix flour, sugar, and salt in a large bowl. Using a grater, grate the butter into the flour mixture and begin mixing with your hands until dough becomes shaggy.
  • 2 In a separate bowl, mix together the egg and milk and pour into flour mixture. Mix until all ingredients are fully incorporated and dough is smooth. If dough is too sticky, add an additional tbsp of flour. Cover with plastic wrap and refrigerate for 40 minutes.
  • 3 While the dough is in the refrigerator, let’s make the filling. Make an ice bath by putting ice into a large mixing bowl with a little water. Put a smaller mixing bowl on top of the ice bath to cool off the bowl.
  • 4 Pour maple syrup into a non-stick sauce pan over medium-high heat. Bring the maple syrup to 235 degrees Fahrenheit. Remove from heat and pour into the small bowl in the ice bath. Allow this to cool to 100 degrees Fahrenheit – which take about 8-10 minutes.
  • 5 Once cooled, add heavy cream and stir until both are mixed together. Mixture will be thick and will become more dense as it cools further but will not solidify.
  • 6 Cut the dough in half and roll one half onto a lightly floured work surface. Roll dough until it is about 1/8 inch thick. Using a dough scraper (or a ruler and knife), cut 2 5×3 inch shapes into the dough. One will serve as the bottom of the pastry and the other as the top.
  • 7 Line a baking sheet with parchment paper and place one of the cuts of dough onto the sheet. Spoon about 2 tsps of the maple syrup filling into the center of the dough and cover with the other piece of dough. Using a small fork, gently press into the edges of the pastry. (Feel free to trim the pastry dough to make it more even after pressing the edges)
  • 8 Repeat this until dough is used. I used both halves of the dough and made around 8 poptarts.
  • 9 Freeze the tarts for 30 minutes.
  • 10 Preheat oven to 350 degrees Fahrenheit, remove from freezer and immediately put into the oven on the top rack. Bake for 30 minutes. (FYI: While baking, some of the filling may bake out of the pastry – this is OK, it happens. They will still taste phenomenally!) Remove from oven and allow to cool completely.
  • 11 Line a separate baking sheet with parchment paper. Add the remainder of the leftover filling and spread it thinly across the baking sheet. Bake in the oven for about 15-20 minutes at 350 degrees F, until the syrup becomes bubbly. Remove from the oven and let this cool completely. DO NOT TOUCH, it will be super hot!
  • 12 While everything is cooling, combine all of the ingredients for the glaze and set it aside until you are ready to use it. Feel free to use more of less heavy cream/water if you like a thinner or thicker glaze.
  • 13 Once everything has cooled, put the tarts on a cooling rack and spoon the glaze on top. I waited for the first layer to dry and then added two more layers.
  • 14 For the maple candy sheet, once it has cooled, using a rolling pin (or your hands), crunch up the maple syrup mixture to make the maple candies! These can be as small or as chunky as you like them!
  • 15 On the last layer of glaze, add the maple syrup while the glaze is still wet!
  • 16 Eat up! You deserve it! 🙂