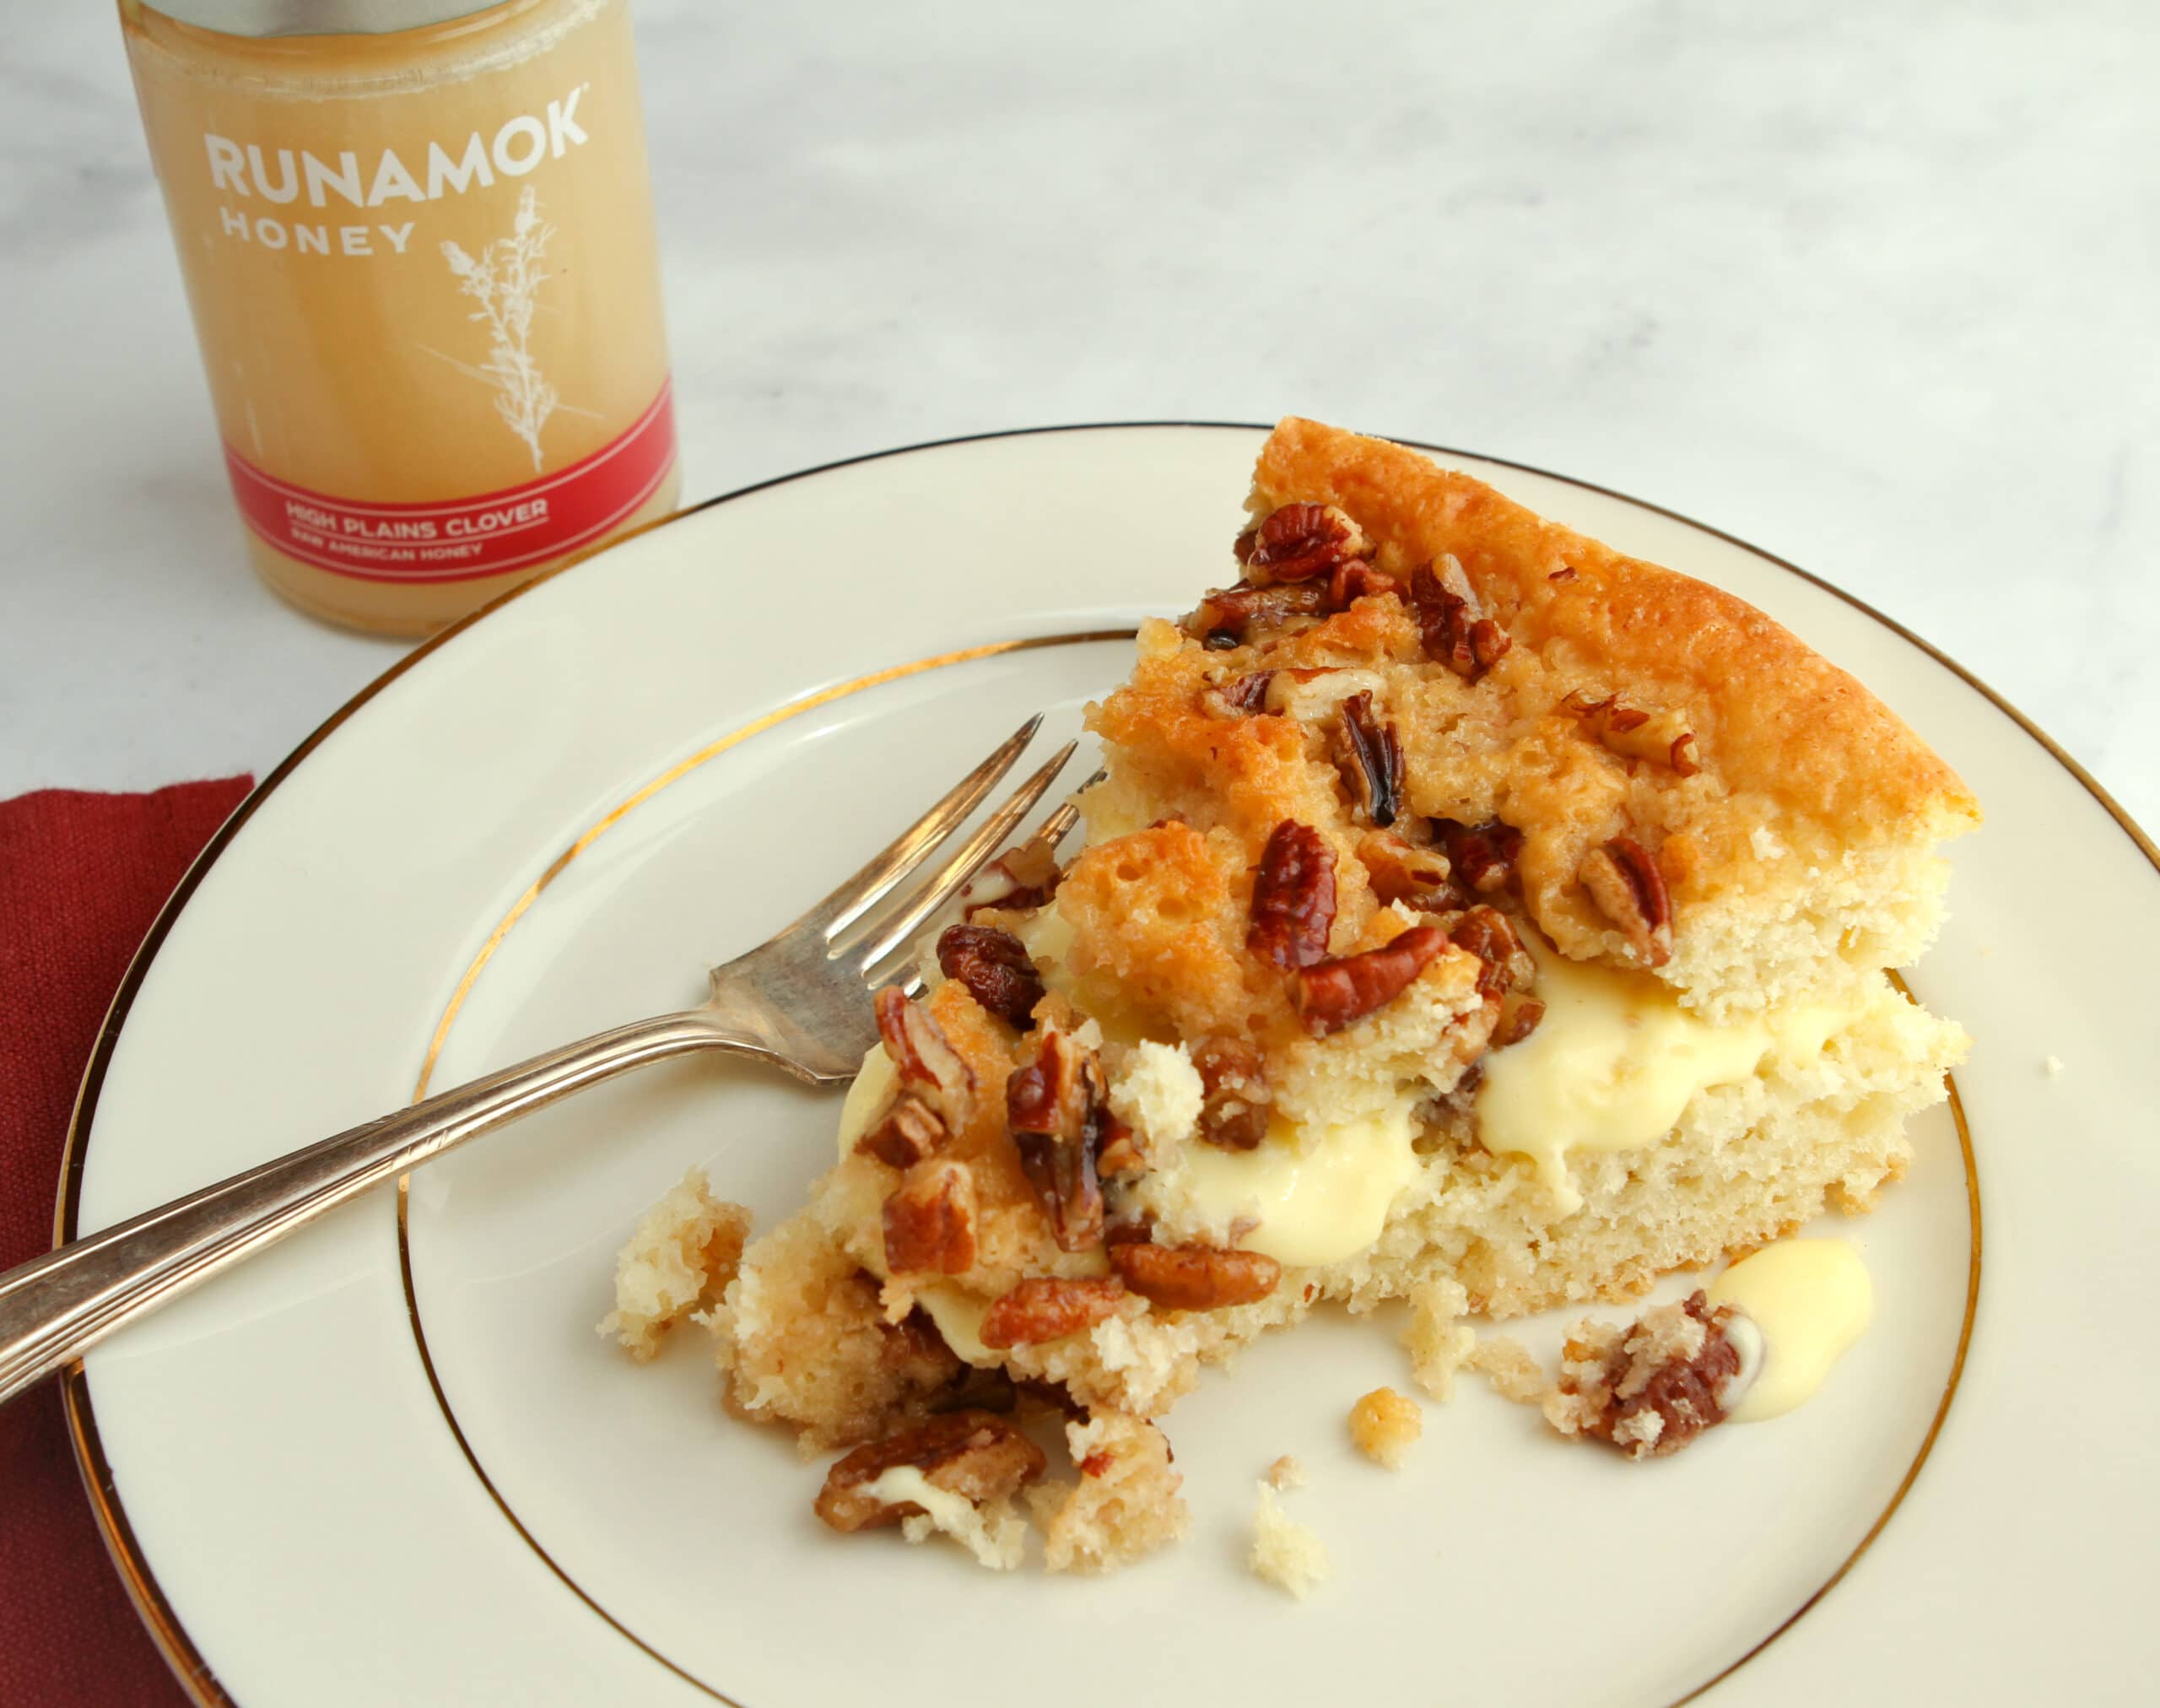

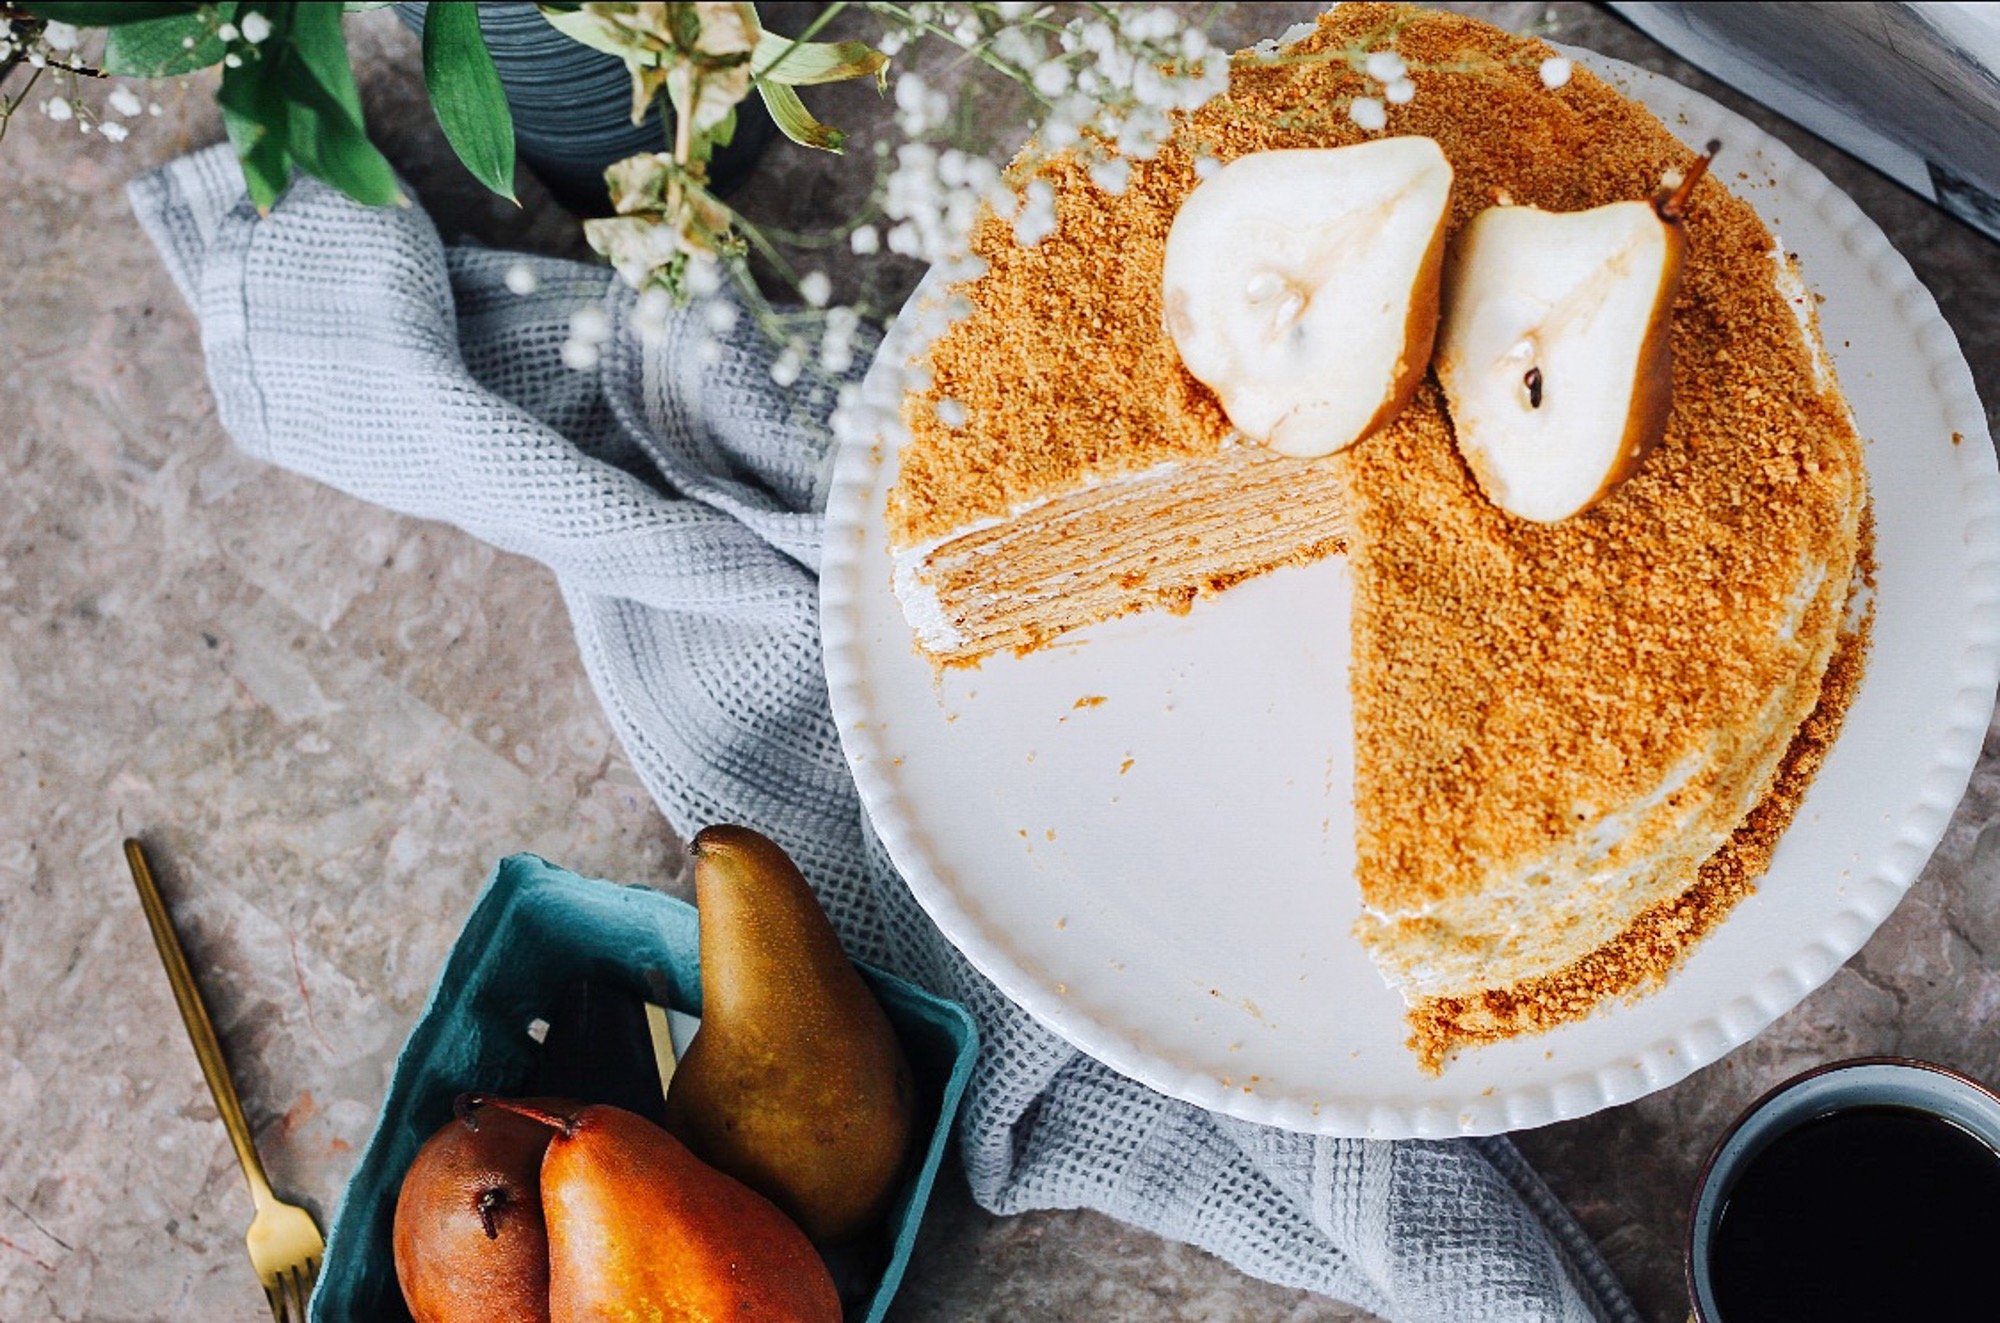
Pear & Ginger Root Maple Syrup Russian Honey Cake
Prep Time: 1 hour 50 minutes
Cook Time: 1 hour
Servings: 1 10" cake, serves 12-16
Ingredients
Burnt Honey
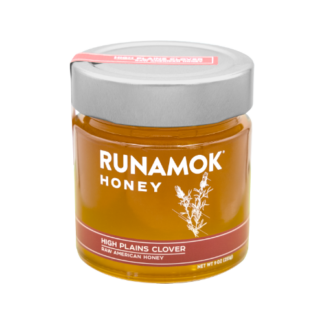
3/4 cup Runamok High Plains Clover Honey
1/4 cup water
Pear Filling:
2 bosc pears (For Poaching: 2 cups of water, 1 tsp allspice, 1 tbsp cinnamon, 1 tsp ginger, 1 cup sugar, 2 tsp nutmeg, pinch of salt)
8 oz butter
2 cups powdered sugar
1/2 tsp kosher salt
2 tbsps brown sugar
2 tbsps heavy cream
Honey Cake:
1/2 cup of Runamok High Plains Clover Honey
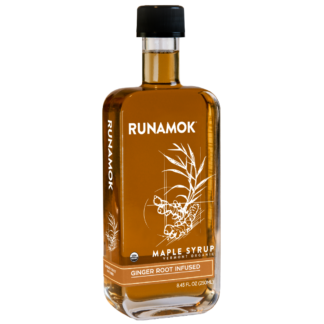
1/4 cup of Runamok Ginger Root Maple Syrup
1 tbsp + 1 tsp ginger
1/4 cup burnt honey
2 sticks of butter
1 1/4 cup sugar
2 1/2 tsps baking soda
3/4 tsp salt
6 eggs
3 3/4 cup all purpose flour, sifted
Icing:
2 cups heavy cream
1 cup powdered sugar
1 tsp vanilla
Instructions
- 1 Begin by pealing the pears and boiling 2 cups of water with the spices mentioned above. When the water comes to a boil, add the pears and allow them to poach for 30 minutes. Remove and set aside to cool for later.
- 2 Let’s make the burnt honey – in a saucepan, add honey and bring to a bubbly boil. Once bubbles form, reduce the heat to medium until the honey turns a deep amber color. Remove from heat and slowly add 1/4 cup of water. Set aside.
- 3 In a double boiler, add butter, sugar, honey, maple syrup, and 1/4 cup of the burnt honey. Whisk together until all of the ingredients become blended and smooth. Add ginger, salt, and baking soda and continue to whisk until completely dissolved. Do not allow this mixture to become hot! This should be kept at warm throughout this process.
- 4 Crack eggs into a separate container and beat the eggs. Add to the double boiler mixture and remove from the heat. Continue whisking until eggs have been completely incorporated into the mixture. (Cheat: At time point, because the batter was so heavy, I added this to the stand mixture so ensure all of the ingredients mixed properly)
- 5 Allow batter to cool and preheat your oven to 375 degrees Fahrenheit.
- 6 Using a salad plate, trace the plate face down on a piece of parchment paper so that you have a shape by which the cake layers should form. (A lot of people use a silpat or silicone baking mat for this step, but I don’t have one. The parchment paper worked just fine)
- 7 Once the batter has cooled, use just over 1/3 cup of the batter to pour into the circle drawn to shape your cake layer. Smooth it out with a non-stick spatula to ensure the cake fits the shape of the circle. (If you have multiple baking sheets, I highly recommend baking more than one cake at a time, or else it will become pretty time consuming). This batter should yield around 9 cake layers.
- 8 Bake each layer for about 5-6 minutes, until the cake is golden brown. Allow the layers to cool before removing them from the parchment paper. Do not stack them on top of each other at this point or else they will stick together.
- 9 You will have leftover batter once 9 layers are fully cooked, use the last bit of batter to make another layer to form the crumb that will go on top of the cake.
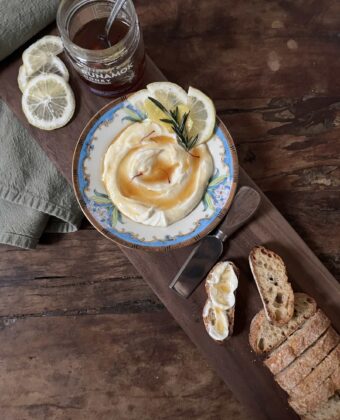
- 10 While the cakes are cooling, let’s make the filling. Grab the pears and add them to a food processor along with butter, powdered sugar, brown sugar, salt, and heavy cream. The texture of this cream is a bit like cottage cheese, don’t worry. We will be refrigerating this cake overnight and the ingredients come together nicely.
- 11 On a plate/cake stand, add the first layer and spoon enough of the mixture to cover the cake layer completely. Do not inundate the cake with filling, just enough so that it is coated. Do this for the remaining layers, leaving the top layer bare.
- 12 Icing – add heavy cream, sugar, and vanilla to a stand mixer and whip until stiff peaks are formed. Cover the cake with this icing completely.
- 13 Add last layer of the cake to a food processor and pulverize until the crumbs resemble bread crumbs and are uniform. Sprinkle these crumbs over the cake – feel free to be creative and decorate however you please.
- 14 Refrigerate overnight!
- 15 Eat!